Showing posts with label dollhouse. Show all posts

Friday, July 24, 2020

A Castle Room and Princess Dress for Reeve's Magical Sleepover

A magical reunion with Reeve

It had been five months since my granddaughter Reeve had been to our house
 and she finally was coming back for a two night sleepover!
She always stayed in the guest room, but I had just 
put up a stone arch wall mural and I feared she would miss her old room.
I had the idea to turn the room for her into a castle room, and she would be the princess.
             It was an easy switch to just add princess type details to the bed and the room and voila!
                                               A castle room was waiting for its princess.
                            Next I searched online and found one of my favorite dresses from the 
                           Disney princess movies, Frozen's Princess Anna's coronation dress.  
            It's Scandinavian charm is so much more lovely to me than the icy blue gown that Elsa wears.
                         Sharing a screenshot of the listing on Amazon, 
where they had lots of princess dresses to choose from.
        The quality was amazing and the day Reeve arrived, so too did the package holding her dress.
                                It was time to go upstairs and show her the "Castle Room"!
                         The first thing she did was climb up into the bed with the little princess sheets.
                                I had made big pillows out of The Company Store clearance section.
                   The stone arch paper from Photowall was the perfect backdrop for a Princess bedroom.
                   Then it was off to rediscover all the things she remembered about her Grammy's house.
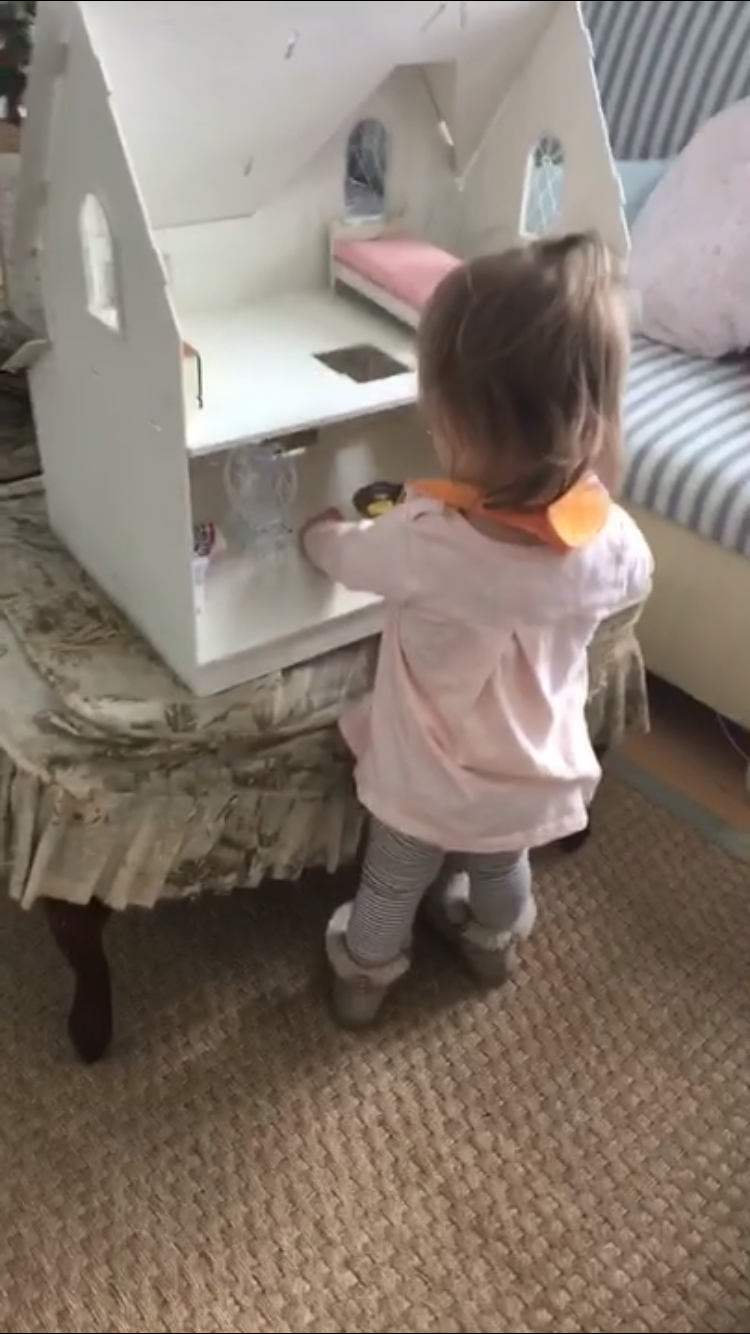
                                                 Like her Grammy's French Dollhouse....
The view to the city out of the window....
She wore it the entire day and even took her nap in it.
She even went next doors to show Grammy Claire, my MIL how
beautiful her new dress was!
It made a long awaited visit to her Grammy and Grampy's house
a magical experience that we will always remember.
We even had a princess photo shoot.
This coronavirus had made us miss our little one, and I know many
of you are missing your grandchildren too.  Making our reunion a
little more magical was so easy with this $20 dress and the idea that 
she had a princess room in a castle! 
We had such fun dressing up together!!


I am offering my readers a 25% discount until the end of August 2020
using the discount code amymaisondecor25
Visit Photowall to see all the amazing murals and wall treatments here.


Read more »

Thursday, August 8, 2019

Fancy Pink Nursery for my French Dollhouse


 A beautiful French crib for the nursery in the dollhouse arrived.
One can make things, buy things and also rehab things for their dollhouse, and 
I do a combination of those things.  This crib is from the Bespaq miniature furniture 
company and they make very fine furniture and some is quite grand.
I wanted a royal and fancy feminine crib and so
 I hunted on eBay and Etsy until I found this sweet crib! 
I added the gingham bedskirt, which coordinates with the pink
gingham rug I made out of fabric on my ink jet printer. 
And baby got her own fireplace as well, which is really pretty,
but apparently I didn't take a good photo of it. Next time!
 Take a look at what I started with in this third floor space.
The aged walls were there, and next I painted the ceiling pink to go with
the pink bathroom, which is through the door in the next room.  I made 
the floral chest out of an unfinished wood bombe chest I already had.
Essentially its cutting out a paper print of a flower pattern that I found online.
First I painted the chest in a pink color close to the paper, then I used 
mod podge in matte finish to affix it to the wooden chest. 
The floors were covered in a paper print made to look like white painted wood planks.
The gingham rug layered on top of that, with the pretty crib sitting on the rug.
It all looked so cute together and I was quite pleased!  
 The walls were already made to look old. 
 I stamped a rose pattern in pink over the 
antiqued plaster walls to give it a faded hand painted look.
A cute little box with a vintage baby was a
 printable dollhouse accessory that I made. 
 Its the most darling room in my Petite Maison!
There will be more accessories to add to the nursery.
 I even have a fancy highchair, but that may go in the kitchen....
I hope you enjoyed seeing the latest addition to my French dollhouse.
Read more »

Friday, April 12, 2019

My dollhouse feature on The Enchanted Home and Weight loss update

Happy Friday everyone!
I am thrilled to be featured on a new series, The Style File,  at my friend Tina's incredible blog
The Enchanted Home!  She asks me some interesting questions about this dollhouse hobby
that I have been working on and you might be surprised to read what celebrity inspired me to begin
working in miniatures.  Lots of dollhouse pics that I have not posted on my blog here, so 
make sure you run over and check it out!
Also a quick update on my low carb weight loss journey. 
I am happy to report I am at 19 pound weight loss at this point, and I have 
integrated more carbs back into my diet.  Overall I just eliminate the white
stuff, potatoes, rice, pasta and bread, with the exception of the Fantini scali 
bread which I have mentioned before.  The white wine is also back, but on weekends
only or if out to dinner.  So if you think you can't eliminate certain things forever,
you don't have to....just do the hard work for several months and then you 
will be in the position to allow yourself some of the things you love.
This picture of me and Matthew Mead was taken two weeks ago when we
met at my lake cabin to check on it and to help Matthew pick up some of his 
photo shoot props.  Its still very wintery up at the lake in New Hampshire,
and it was actually kind of depressing going inside the cabin.  I will post
more about our intentions of rebuilding there and where we are in the process.
Anyway, this was the only pic I could find that shows my body so you can see I am 
looking more "trim" as my dad likes to say!  I have had many readers
share their own weight loss success stories, and it makes me so happy to 
have inspired them in anyway.  I know how much happier I feel every day going
into my closet to not fret over what will fit or what will not.  What will make me
look thinner, and what is not flattering.  So its a diet that has worked for me,
and I hear its working for many of you as well!!  Bravo!!


Read more »

Friday, March 1, 2019

A FANCY French Dollhouse Kitchen


 It's already the first remodel, and I only began my dollhouse pursuit a few months ago.
The kitchen needed an upgrade, when I decided to move the cooker (thats what they
call the fancy European stoves) over between the countertops.
After I moved the cooker to the cabinet wall, I moved the bakers rack I made
over to the same wall, and hung it above one of the base cabinets.
 This was the layout before, a simple country kitchen for the servants. 
 Hahah. There is always a
running story behind every dollhouse, don't you know.
The before layout had the bakers rack over the cooker.
Which in real life would be FOOLISH because all the cooking grease and 
steam would go over all the copper pans and utensils. So I decided to 
make a European style fancy vent hood to go with the fancy cooker.
 It was built from balsa wood scraps and a piece of heavy paper for the curved part. 
Store bought miniature corbels were added to the bottom for that fancy old world flair. 
 I primed the wood with gesso and then I noticed after I sprayed it with the shiny green paint
I had used for the cooker, that there were splotchy shiny areas and the paper was mostly dull.
It occurred to me that anywhere the gesso had touched the paper, that was where the paint did its proper thing and had a glossy shine.  So I went back and primed the paper area of the hood with the gesso, and then sprayed again with the Krylon seafoam green paint.  
Then I applied "brass" strips to the hood using card stock that had been wrapped
in gold metallic paper and tacky glue.  They looked awesome!!
The thing was FANCY!!! It made the kitchen way more FANCY!
 But something wasn't fancy at all....
 The hanging light was NOT fancy. 
It was a simple country kitchen light fixture. It had to go.
Goodbye tiny copper lantern.
Hello big French chandelier! 
The kitchen also finally got a refrigerator and 
another bakers rack to hold more copper and our farm fresh eggs.
One more look at how amazing it looks from EVERY angle.
And....
The Kitchen Aid mixer got upgraded to the copper version like the one in 
my own tiny real life kitchen.  
You see that is the fun part. Making
things resemble your favorite parts of your home, and then adding 
FANCY things you WISH you had, but sadly DO NOT.
And while I tried to take a few quick pics with my FANCY camera,
a little hand snuck in while my eye was firmly resting on the camera.
As I snapped the pic, I heard her say in her little voice: 
"Broken"
I popped my head up and saw that she had yanked off the cabinet door.
You see the doors and drawers are false fronts and she is very intent on
opening and closing anything she can get her hands on.
I told her, "Grammy will fix it." 
And then quickly ushered Reeve right back to her own little dollhouse.
It is filled with colorful inexpensive vintage dollhouse parts I have been
finding with the help of my sister, Ellen. 
 It is everything a little girl would want.
Where she played happily for quite some time,
and only broke a few things.


Read more »

Friday, February 22, 2019

Reeve's Cottage Dollhouse


 Dollhouse Number 2!  
This is going to be for my granddaughter Reeve, who is
not exactly dollhouse ready, but I had no choice.  You see, I got a call from an old
friend who was in the antiques picking and selling business.  I met her when I had my shop,
she would come to get some paint for some of the vintage furniture, and we always loved
chatting.  Well she knew my latest obsession is dollhouse stuff, and she ran across a
big pile of dollhouse stuff....like 6 house kits and boxes of furniture and building materials.
 Did I want it, my friend asked? 
If the price was right...and boy was it ever! 
 This is the kit I decided to build for Reeve. A cute little gingerbread cottage with hearts 
on the shutters and rounded doors and windows.  I personally LOVE rounded doors.
Some of the things included this cute coo-koo clock and a crib with Cinderella on it...
all perfect for Reeves tiny dollhouse.
 Although I have never built a dollhouse, I jumped right in.  
As soon as I opened the box
I got nervous. OMG look at this pile of wood and all those shingles. 
 But I just followed the instructions and started snapping out the parts and pieces.
Often one must cut with an exacto knife or box cutter along the precut lines so the wood does
not splinter.  Then lightly sand the edges to make it smooth without splinters.
 This is all one needs to build a dollhouse kit.  Exacto knife and/or box cutter, pencil, screw driver to help poke out the smaller pieces through the wood, ruler, masking or painters tape and a cutting board or a cutting matt, like I have above.  The yellow miter box is optional and I only used it to cut a few pieces I could have cut otherwise with the exacto knife, but it was easier.
 By the way, look at the stuff that came with the 6 dollhouse....all these things!
I personally do NOT like the look of people in a dollhouse, but I knew that for a little girl,
that is essential to the play of the dollhouse.  There was a village of people haha.
 After two days I got the house mostly assembled and was working on painting most of it white
so that it would be a blank slate for Reeve to do with whatever she wants when she is older.
Also, a lot of the furniture came in red check and yellow and lots of bright colors, so I think a white
interior is the way to go for now.
 Yesterday I set it down on an ottoman in the living room so she could have a crack at it.
The roof still needs to be put on permanently and lots of other things done.
But she ran right over to it.
 She played for a good FIVE MINUTES. Lol. 
Then threw some of the furniture on the ground and walked away.
 Today I have begun adding the shutters with the Swedish blue paint and white hearts.
It is so darling. I will add some flowers to the window boxes too.
The masking tape (or painters tape) comes in handy for helping things stay in place while the glue dries.  In the meantime, I am still losing weight on my diet, today marks 18 pounds lighter since Thanksgiving!  That is just totally amazing, and it has not been all that hard.  The hardest part was deciding to do it, and not giving up.  And I do cheat, I am human after all.  But try not to cheat for the first two or three weeks.  Now I can have a grilled cheese sandwich, or a slice of pizza and then the next day I just go back to low carb rules.  Hope you can get in the mindset and "just do it" if you have been thinking about it, or your weight has been making you unhappy with yourself, like it was for me.  I will return with the finished dollhouse soon, I hope!
Read more »