Our makeover at the new Maison Decor location at 150 Main Street Reading has begun. Its a basic rectangular box with a cement floor that used to be covered in carpet and linoleum. It has a dropped ceiling with acoustical tiles. I want to make the ceiling disappear and create a rustic french cottage type of vibe in this modern American space. Its all in my head of course, and we will see if it comes out the way I envision it~and since this family is DIY style all the way, you get to see how the average person can tackle this project. For starters we figured we would paint the ceiling black. The power of paint is never to be underestimated, and the bang for the buck is huge.
Colin covered all the light fixtures and sprinkler heads with plastic, then we would wrap the walls in plastic drop cloths too.
We went to a big box store and got some supplies. Basic flat black paint for the ceiling and dark grey porch paint for the floor base. I am looking pretty optimistic here on day one!
Colin rolled out porch paint in dark gray for a base coat. The floor was a cement base with various types of mastic left behind. A nice texture for my idea of a stone floor~so that was all good. He finished it up quickly. Next day we would tackle the ceiling.
Our secret weapon would be this sprayer. We needed a sprayer that could point up at the ceiling and this one has a tank that is independent of the spray gun. A lot of sprayers have a little tank on the top of the gun but that wouldn't work for our needs. We have never used sprayers so there was going to be a learning curve for sure~was it even going to work? Day two would reveal the answer.

I left my nice camera in the car~Justin suited up for this task while Colin handled online orders back at our Malden store. All the walls and lights were covered in plastic. I took a few videos and we were laughing our heads off to start because figuring our a spray gun is NOT easy....and painting over your head is NOT fun as it rains a mist of black paint all over you. Into your eyes, all over everything...I was standing off trying to take a few pics and help figure the sprayer out, handling refills etc...but after Justin got it going, he was able to tweak it and get it ripping!! It was very messy and kind of creepy~I do not recommend doing this yourself unless you have a good sense of humor and don't mind getting paint everywhere.
Justin had goggles and I asked him to pose for a closeup....not happy about it, but it was for the BLOG!! Then he got back to spraying and I waited to help clean up.
Yuck.
The next day Colin and I returned. It was the 4th of July. I know, a holiday...but we wanted to put in half a day and so we got over there bright and early to rip off the plastic and check it out. This was so much fun seeing it nice and clean under the plastic~the paint covered nicely and I had the black ceiling I wanted! It makes all the difference in my opinion. If you have low and or ugly ceiling tiles, consider doing this treatment.
My next idea was to have the floor painted in a tromp l'oeil style of cobblestones. To start we dropped a plumb bob to get a straight line to line the stones up so they would be straight. Very important step.
The blocks were made out of basic large sponges that I tailored to have irregular borders by snipping the edges with scissors. I had three large sponges and I made them in different sizes, just like cobbles are.
Starting at the chalk line we drew I rolled French Linen Chalk Paint® onto the sponge so it was covered but not saturated, then I stamped the first block.
Looks like this~a sponged block. Basic and easy, but it will get a bit of faux touch ups.
I laid out a bunch of stamps first. Of course I was thinking, I hope this is going to look like I think it can...but what if it doesn't??? Everyone has those disaster thoughts. You have to ignore them or at least know that it is normal to think these things, but keep going.
The different blocks just set in an empty roller pan...I had a tray of Paris Grey Chalk Paint® and a little bit of watered down Graphite Chalk Paint® too.
I used the Paris Grey and Graphite to brush high and low lites onto the blocks.
Meanwhile Colin painted out the partition wall that will separate our Workshop zone from the Retail zone. It will become a large Chalkboard for messages and Workshop listings.
In just a few hours we were well on our way to getting a good look at how our store would be shaping up. The ceiling has disappeared and the stone floor is taking shape!
Today we head back for 8 hours of cobblestone laying. Colin and I will not leave until this entire floor is finished. My butt is sore from doing a continuous two hour squat yesterday~wonder how it will feel after today?
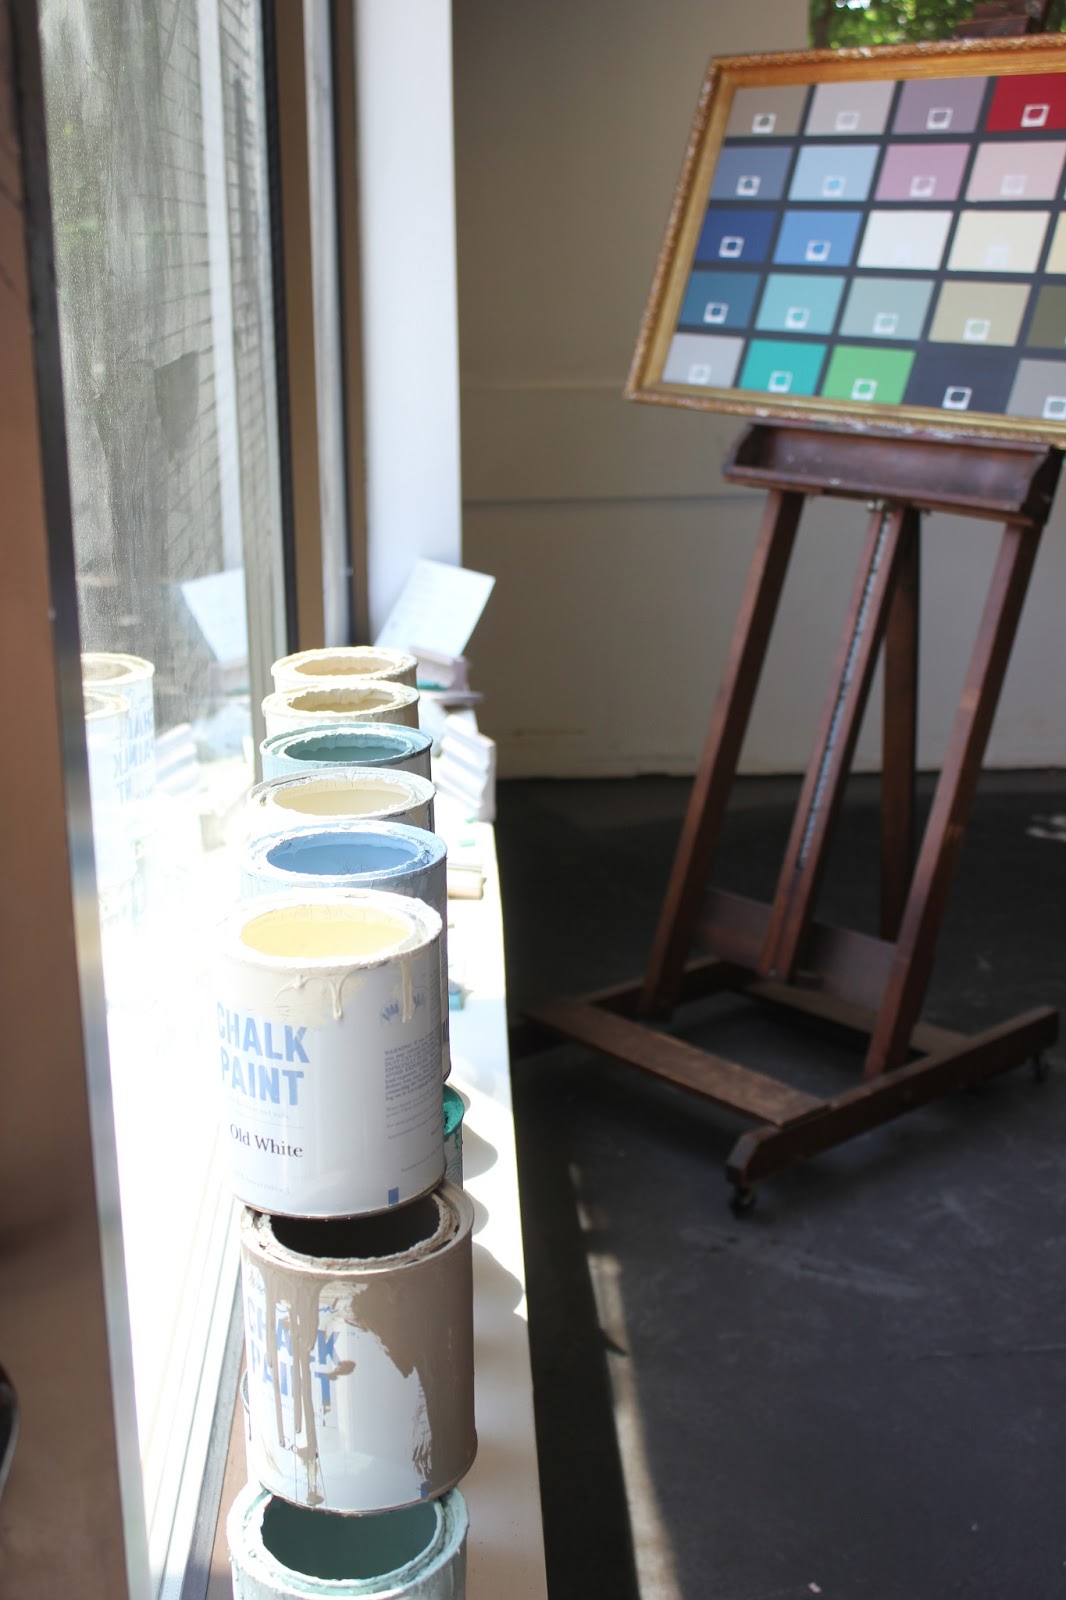
We set a little window vignette up to let any interested parties get a glimpse of things to come.
Maison Decor is coming to Reading!
Stay tuned for how the floor comes out~
I can hardly wait to get to the walls next!


I love how you are transforming this typical retail space! I can't wait to see the final product. When do you think you will be open for business?
ReplyDeleteI wouldn't have thought of a black ceiling, but it looks great. LOVE the cobblestone effect. Have fun and don't get worn out!
ReplyDeleteQuick, Colin, run out and get your mom knee pads that gardeners use! And a pair for yourself too. It's going to all be worth it.
ReplyDeleteWow! Amy you and Colin are creating a very unique space the black ceiling disappears, like a miracle, The stones are coming out so cool! As Sharon said though you do need knee pads !!!
ReplyDeletexoxo
Karena
2013 Design Series!
Oh my Gosh! That was brilliant! The ceiling really did disappear! and the cobblestones look so cute. This is awesome fun to watch... i didn't want the post to end!...
ReplyDeleteCindy
You are a very brave woman! That looks like a ton of work but I completely understand why you're doing it. Your plain box space needs to be transformed into something unique and stylish and you are definitely headed in that direction. Spray painting the ceiling will probably make the biggest difference. The floor pattern is going to look great when it's done. No one will ever be able to tell what that space used to be!
ReplyDeleteI love watching your transformations! can't wait for the next post....black ceiling? amazing. blessings, lady
ReplyDeletereally sending you my sympathy for your future 8 hours of making cobblestone. ouch!
ReplyDeleteI would have just done some kind of diagonal checker board, 'cuz I am lazy.....
ReplyDeleteThis space is going to ROCK!
I love that floor! You make it look so easy. Can't wait to see it all done :)
ReplyDeleteHi Amy...the best part here is I can see you are having such fun, I can feel your energy jumping off the screen and this is obvious..its a total labor of love. How wonderful to see everyone so excited!! Its going to come out amazing, love the idea for the floor too...beautiful! Look forward to seeing the final result:) Hope you had a happy 4th, its nice to be back in good ol blogland.
ReplyDeleteSo proud of you!!! You are growing so fast and really wonderful how your family all works together!! The space will be beautiful!!! xo leslie
ReplyDeleteThat is a great look. If I got down on the floor, I don't think I could get up without a lot of help. Maybe I could find someone younger to do this.
ReplyDeleteWhooo Hoooo...It's looking good, Amy. I just sent a link to your blog to a non-blogging friend of mine. She is a "magic maker" and I KNOW she is going to love your blog. She is also fascinated by the chalk paint so I told her you were a good place to start!
ReplyDeleteHey-with that mask on-you could move right into surgery! Wait- You are a surgeon of sorts- a furniture surgeon! xo Diana
I don't know if you have Big Lots stores where you are but Big Lots has knee pads with honeycomb gel padding over a zero pressure zone right where it is needed when you kneel. They are so comfortable that you hardly know you are kneeling!
ReplyDeleteThey are made by Tommyco. They cost me around $20.00 but they are worth every penny!
Thx kikipappy!!! I am gonna find me some of those knee pads.
ReplyDeleteWow! Look at you! This is sooo exciting for you!
ReplyDeleteThis is looking great! I can't wait to see the next step!!
ReplyDelete