MY KITCHEN BEFORE PHOTO
This post is for a lot of my readers that have been writing me emails, asking me questions about this little kitchen face lift. I love getting emails with questions like, "where did you get your faucet" and "what kind of paint did you use". And if someone is asking, I know others are thinking it too, so this post is for all of you~with lots of pictures and the steps I took along the way.
Lots of us would rather have white cabinets instead of wood stained cabinets. I know, because I was one of those people! This was my perfectly fine maple kitchen cabinetry, about 6 years old.
This kitchen had a poor version of a look alike granite in a speckled colorway that was mostly grey. It had the built in backsplash that comes with most laminates. I didn't like it either. We added the island and gained a ton of work space. This kitchen is quite small, and although this island is a little oversized for the space it made this kitchen as workable as it could be.
The idea of painting my cabinets no longer seemed daunting as the step of priming and prepping was eliminated. I unscrewed the knobs and just started painting my cabinets. I did wash them down with pine-sol first, and after they were dry I grabbed my brush and just got started! At the same time I decided I would add a shelf above the sink window. You can see an iron bracket mounted on the window frame. I ended up turning it parallel to the window and mounted it off of the cabinet instead.
This picture shows the refrigerator sandwiched between two cabinets. This cabinet layout was going to change too. It didn't cost one penny to do it either. Mr. Maison Decor and I removed each cabinet and just rearranged their order. It was that easy. They are just screwed into each other and into the wall. You will see that later in the post.

I'll admit I was nervous and excited as I was about to either ruin or enhance the cabinets. So I carefully painted the first skinny cabinet where we keep our coffee mugs. Oh my! I loved it and I just started painting with a vengence! I got all of the cabinets done in five hours. One quart of Old White Chalk Paint® by Annie Sloan covered two coats on my cabinets. The first coat goes on so easily! The second coat went on after the first coat was dried, and I used a bit of water on my brush tips every other stroke or so to help the paint glide on top of the first coat. Without using a bit of water on your brush the paint will grab at the chalky matte base coat. I used a brush. Annie Sloan brushes are ideal for painting cabinets as they have a lot of soft boar bristles which hold a lot of paint and the brush strokes are minimized. Some people use a foam roller for a factory look, but it gives a bit of a pebbly look. I have to say I like the vague outlines of brush marks. These are hand finished cabinets, not sprayed out in some factory somewhere! The brush strokes are slightly visible if you look for them. You might consider doing a sample board both ways if you are unsure. You can also put Chalk Paint® in a sprayer and thin it out by adding 20% water. I don't use a sprayer but that is
the formula for those who would like to do so,
It is looking fantastic! I am in love with my cabinets in white, and wonder why oh why did I wait so long to paint them?? And it was soooo easy! After painting the cabinets and they dry, you MUST wax them with the soft wax. I used Annie Sloan's Soft Clear Wax. I will do two coats when all is said and done. You brush it on with a wax brush, pushing the wax into the painted surface. Then wipe off any excess wax with a soft cloth. Wait at least 24 hours and then you can rub it with a cloth to create a soft lustre. This is called buffing. Consider using a buffing brush to do this job! I wish I had one at the time I did these cabinets as a brushing buff gives a superior finished look in a quarter of the time and effort.

All was fine and dandy, but then I got the idea of doing a grey washed look on the lower cabinets after being inspired by a Habbersham kitchen! The washed look came out great, but after two weeks I felt it was too dark and made the kitchen feel broken up with the two colors. So that meant I now had to paint back over them. I had waxed them as well, and was nervous as to how the wax finish would affect the coating of Chalk Paint....
I made this grey wash by mixing 50% Paris Grey with 50% Old White
and then adding a little bit of water each time I dipped my brush into it.
Afterwards I distressed it with a sanding block.
Chalk Paint® is a matte chalky finish paint that does
not require priming but it does require a wax finish to give it durability.
This color wash has that Belgian look that is very popular right now.
You can see the two tone cabinets.
It was very pretty however I felt it broke up small space so
I am happy I went back and repainted it all with Old White.
I would say that the Old White color is comparable to Linen White by Benjamin Moore. You can see that I lightly distressed the cabinets with a sanding block. I kind of hated to do it because they looked so good without distressing, but my idea was this to be a bit more relaxed with light distressing.
Here is good view of our refrigerator area. The corner to the left
of it was so cramped you could not even open that bottom cabinet all the way.
We took off the cabinets and left the crown molding intact
and put the two cabinets to the right over to the left.
See the screw holes? Just unscrew it! We used a pry bar to gently
separate it from the crown molding which just stayed there.
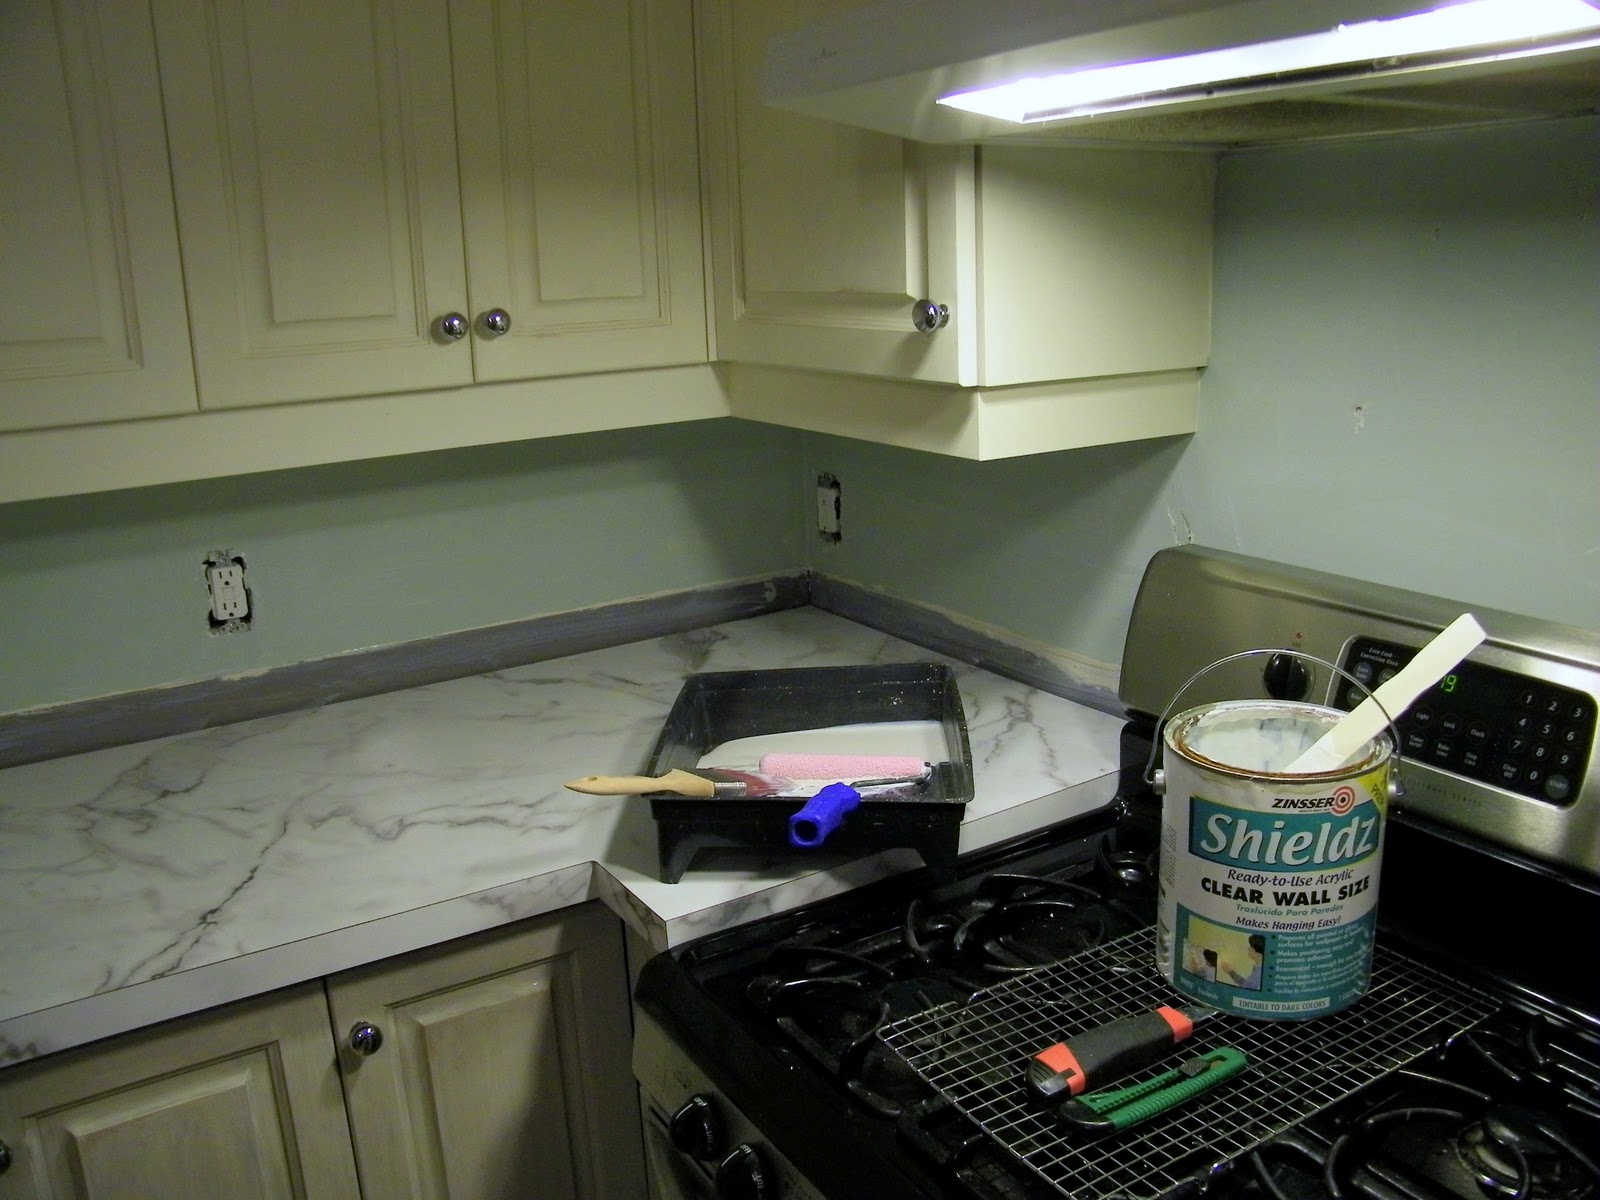
By the end of that day the fridge had moved over and we had a nicer workable corner! Now this mini facelift involved changing out the counter tops. I wanted marble but decided to try the new 180fx Formica product that is a laminate counter top with a pattern repeat of 8-10 feet!
So you can have that long running pattern without it appearing again. I made an error choosing the edge and insist anyone who goes with this product order a pre-finished edge, not a "custom square edge" like I ended up with. The reason being is that this is the place that you can instantly tell it is formica! Other than that, I love this material and am very happy with it's appearance. It has an "etched" finish mimicking real stone.
Unscrew your counter top and yank it off! I had the new counter top
made to my measurements and the moment of truth was coming up~
Ok, it fit. But it looked less than swell~I hated the seams!!
Oh well, my loss will be your gain. Since then I had two people tell me to
brush some white paint on the seam and it worked wonderfully. At this point I could not wait to add real bead board so I used a roll of Martha Stewart Bead Board Wallpaper from Home Depot as my backsplash. Sizing the walls first for proper prep (its like painting clear gel on the wall)
it dried quickly and then I applied paste to the paper and applied it to the back splash.
Then my smile came back, as I was loving the result.
This kitchen was shaping up to be a space I was going to be very happy with!
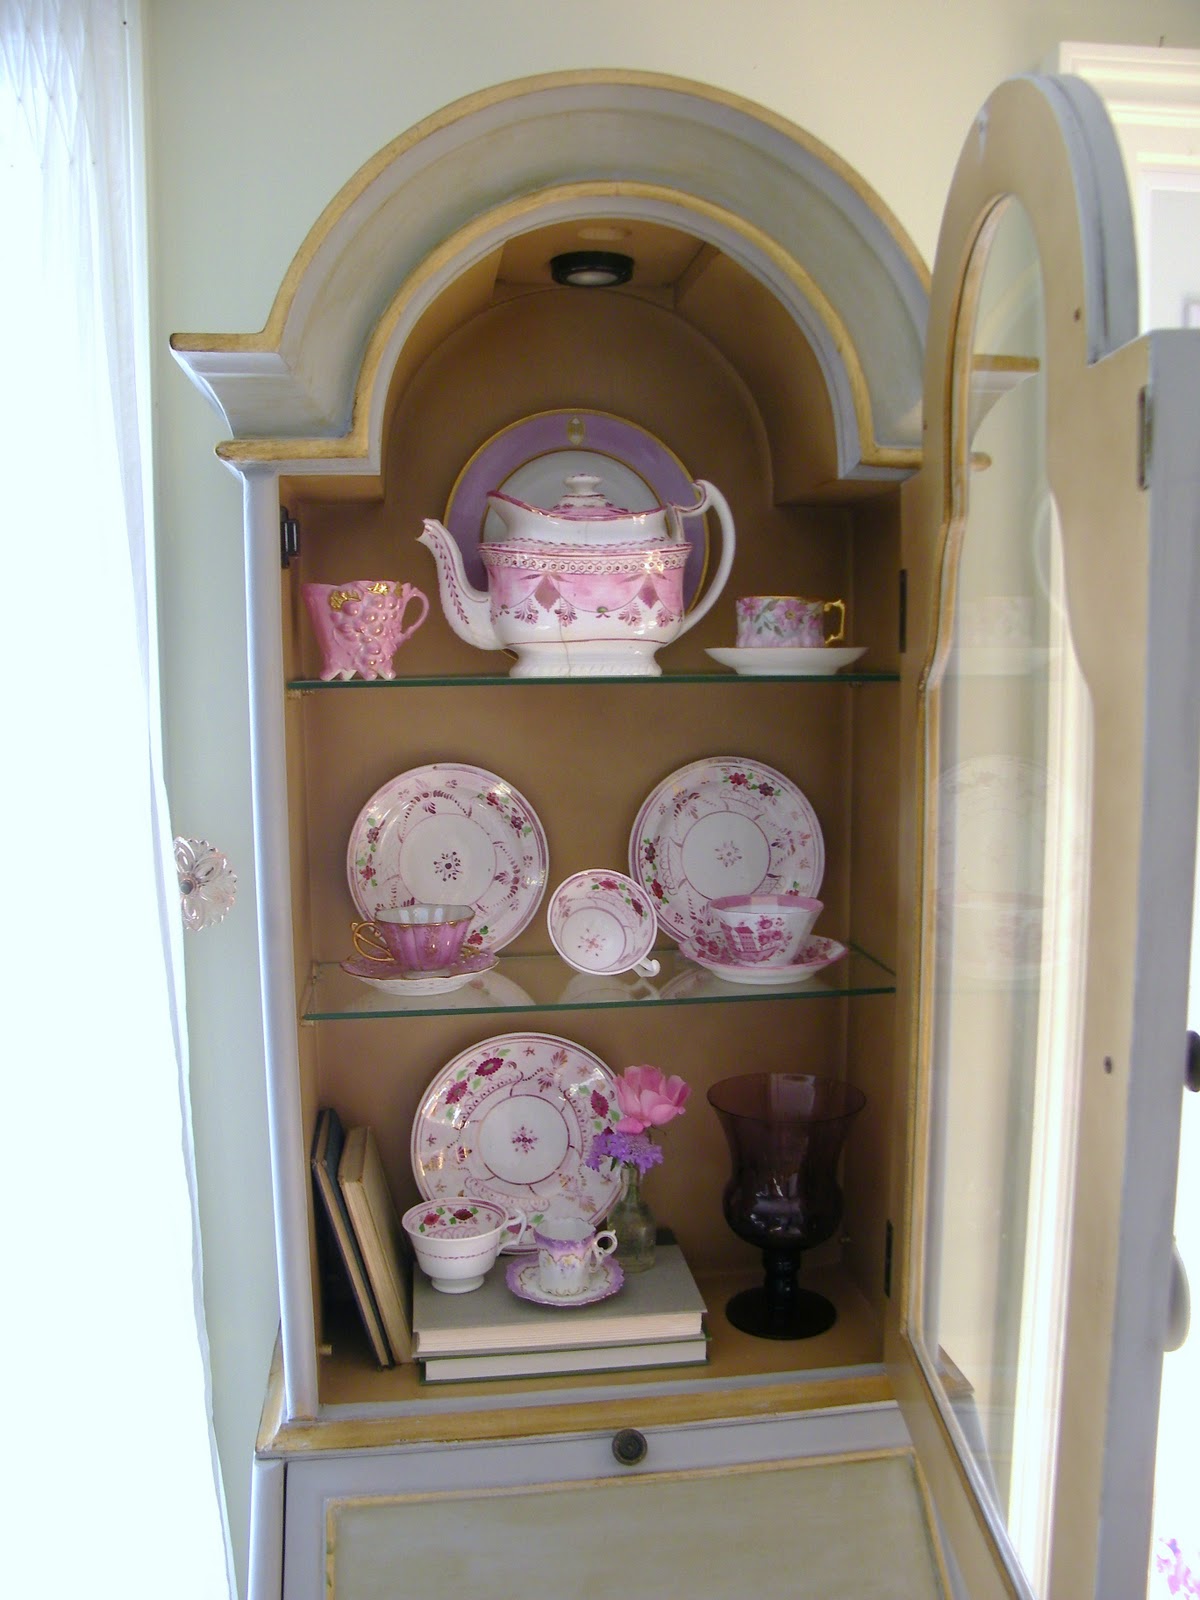
When I work on projects like this, many times I get ideas as I go along in the middle of the process. One of these ideas was to create a mini hutch in the cabinet above the stove. I pulled the doors off and added some cup hooks and piece of wood trim for a plate stopper so I could display a china collection. I added a piece of poly foam architectural molding I found at Lowes to give it a bit of a furniture look.
This is great stuff and we used the same trim in our bathroom
above the laundry room cabinets, which you can read about by clicking here.
This is how the mini hutch looks now, but I planned to add a bead board wallpaper interior.
Here it is with the interior paper finishing it off. Its a great area for display!
This shot shows how the window shelf we made with a scallop cut out shape.
I covered it to look like it was made out of an old tin ceiling.
You can also see the grey washed cabinets getting repainted back to Old White.
The wood shelf wax covered with a plastic product sold for creating faux tin looks.
Did you know Chalk Paint® sticks to plastic and metal as well as wood?
At this point Mr. Maison Decor mentioned to me that if I wanted to change the sink,
"now was the time". Hmmm...I hadn't planned on it. I wanted an
apron sink in a farmhouse fresh white porcelain.
That would mean more money and changing out the cabinet that houses the sink...
so I came up with an idea that would give me what I wanted and for a lot less money.
I found a porcelain sink with a drain board that would work quite nicely.
I found it on Craigslist~so hunt one down for yourself if you want
to change your sink to one that has vintage appeal.
This faucet is the one that I ordered from Lightinthebox.com for the sink. I also ordered an escutcheon plate that will cover the two extra holes we don't need. This weekend the sink, the countertop, the bead board and the faucet are going to be installed by Mr. Maison and me. I can hardly wait!
(P.S. It came out great!)