Showing posts with label holiday. Show all posts

Thursday, October 27, 2016

A Rustic Classical Thanksgiving Table


It's a pleasure to be joining a talented group of design bloggers 
with table settings for Thanksgiving.  
How many times do you do the same thing, every year?
Well this group may give you some ideas about switching it up!
My Thanksgiving table came together quite naturally this year.
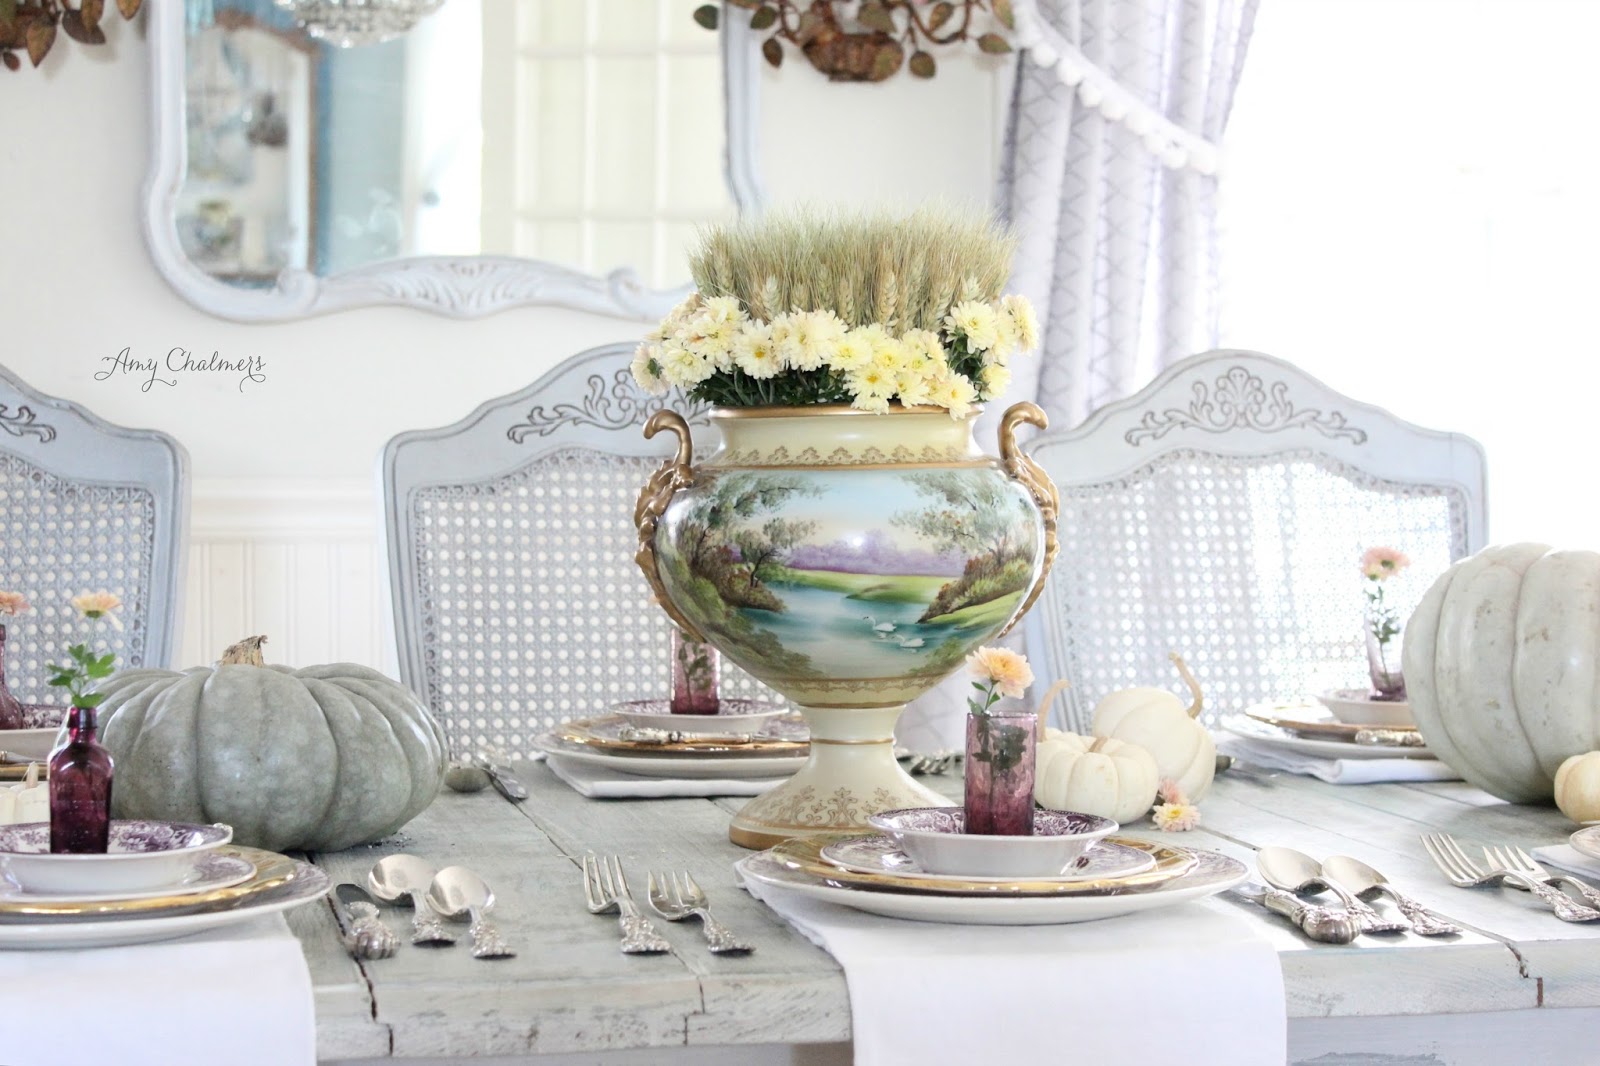
It centered on one big beautiful thing.
My inspiration point for the table setting was a classical urn that I found 
recently at the wonderful SOWA Antique Market in Boston.
You can make your own table centerpiece using a 
beautiful soup tureen or a large vessel like a planter or an urn.
To dress this table up, I could have started with a white tablecloth, 
but I loved the look of the fancy urn against the rustic wood table planks. 
A bunch of wheat (that is actually in a self contained pot) was plunked inside the urn,
and then I filled in the edges with cuttings from one of the mums I had outside.
You can see the beginnings of my table above.  The urn without the mums yet,
and the table with just white baby boos and no individual flowers for the settings.
It's nice, but lacking somehow....so keep layering until its pretty but not cluttered.
 Each place setting got a special touch with individual antique purple
 glass vessels, holding one sprig.  It is simple and pretty. 
As you may know, I always shop my yard or my home to create special looks.


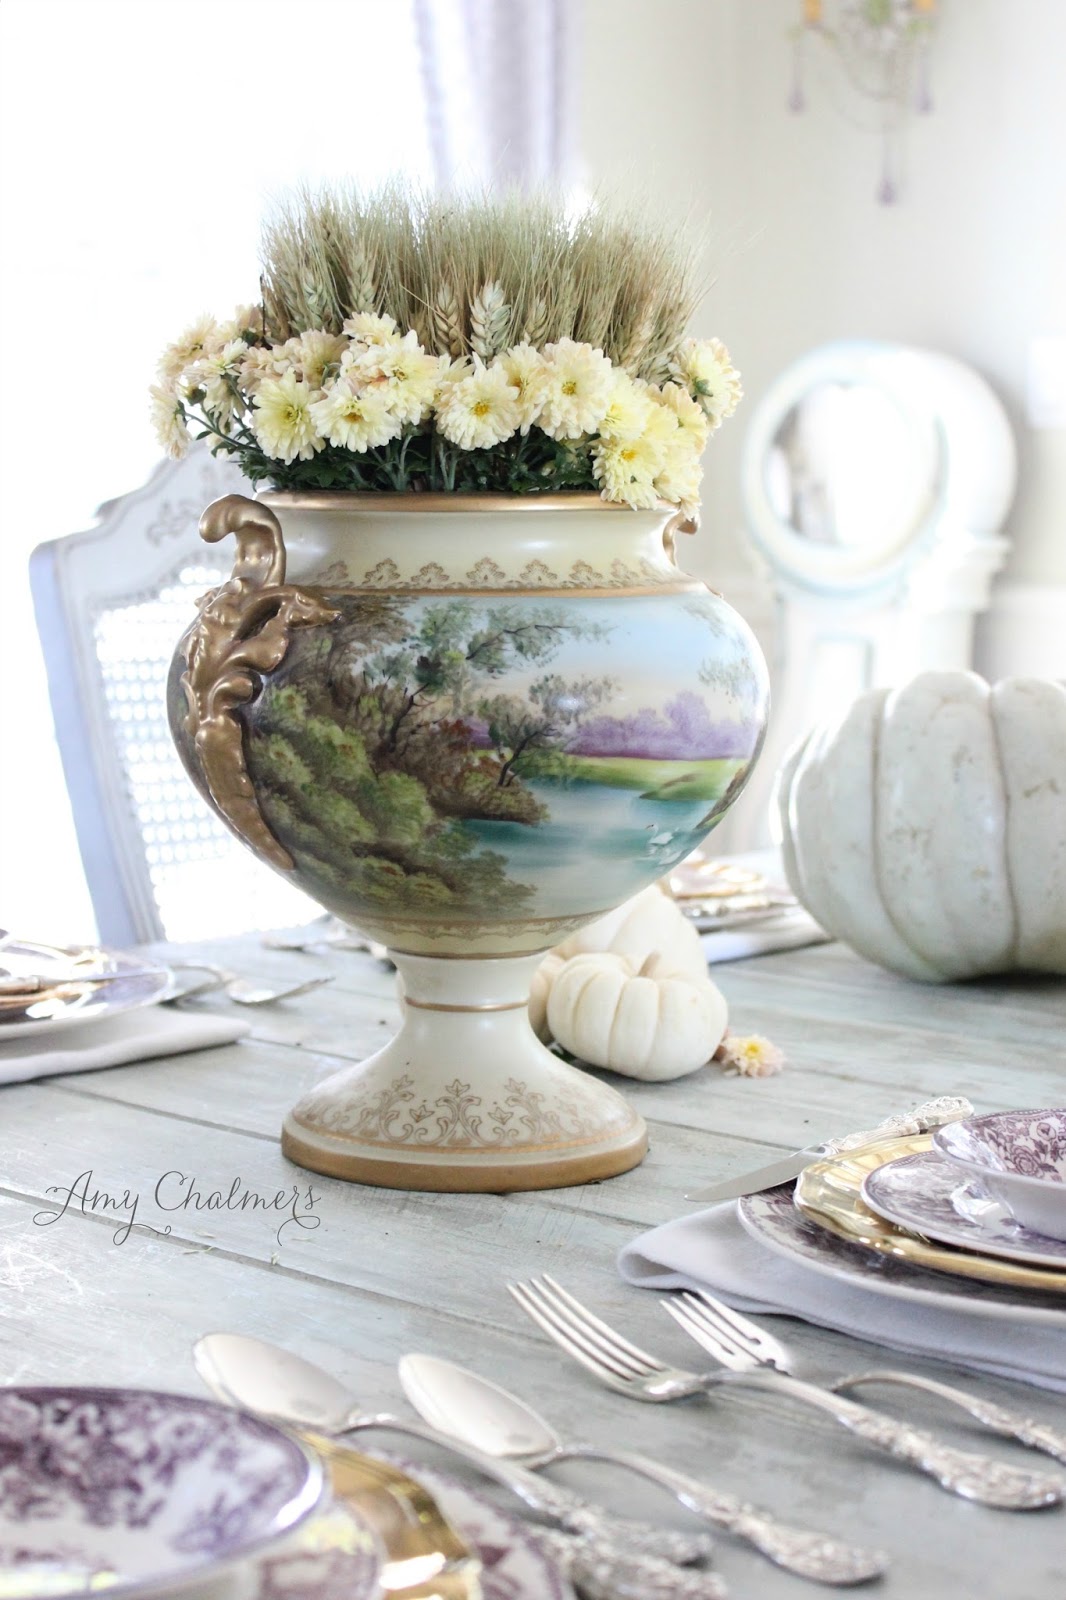
The sparkle of silver and gold, and farm stand pumpkins and flowers
 create the perfect mix of refined and rustic decor that I prefer.
 Ignore traditional thinking and set your table 
with what appeals to your own personal style.
Use your favorite heirloom pieces to create a table all your own.
This could be my most favorite Thanksgiving table ever!
Don't forget to visit my blogger friends homes to see what
kind of tables they have come up with.  
You will be sure to be inspired.

 photo signature_zpsxi5q1w6r.png

holiday-entertaining-logo
 shabbyfufu-holiday-tour
easy-thanksgiving-entertaining-tips-title-page-stonegableblog-com
savvy-southern-style-fall-entertaining
a-holiday-table-center-shot 
thanksgiving-napkin-holder-diy-printable-on-sutton-place
enchanted-home 

Monday's posts:
Holiday Entertaining Blog Tour | Day 1
Tuesday's posts:
thanksgiving-blog-tour-tuesday
Wednesday's posts:
wednesday-posts
Thursday's posts:
blog-tour-thursday
Friday's Posts:
day-5-friday
Read more »

Wednesday, October 12, 2016

DIY Designer Pumpkins for a Holiday Table

We have all seen this lovely velvet pumpkins! 
 I really didn't want to pay $40 for one, 
and since I wanted a bunch of them, I decided to make my own.
I have seen them at HomeGoods for less than $10, but not in the colors I wanted.
So....here is how I made my velvet pumpkins.
There are lots of tutorials on the web about making these cute pumpkins, 
my tutorial is not entirely original, it's just what I found worked best.  
I knew I wanted purple velvet....and after looking at the fabric store and coming
up empty handed, I went straight to the local Salvation Army Thrift shop.
Tons of clothing on racks in every conceivable color, I found designer velvet
clothing from the likes of Talbots and Ann Taylor! 
So I guess I will call these my Designer Pumpkins.
This setting is a dry run for a Harvest dinner party, or even Thanksgiving.
I thought that these charming pumpkins would look pretty at each place
setting.  The purple color would look great with my purple transferware.
The list of essential pumpkin making ingredients are shown above.  
Velvet Fabric ( I got mine from a large clothing thrift shop, but look online or in fabric shops).
Pumpkin Stems (Found mine at a farmstand. Ask if you can harvest stems from their rotten pile!)
Another idea is to use wine corks for stems or driftwood or sticks from the yard.
Rice, Fiberfill Stuffing, Button Thread (heavier and stronger than normal thread) and glue gun.
Cut circles for the pumpkin body. 
The finished size will be half the size of your circle.
 I used a bowl to cut my fabric out of the sweatshirt I found at the thrift shop. 
 Leave your perfection tendencies to the side, your circle just has to be cut, but not perfect!
 Then double a length of thread about 20" long and knot the end. 
Next do the running stitch around the edge of the circle.  
A running stitch is just the basic up and down kind of close together.
 Pull it tightly as you go, gathering the circle. 
 Nearing the end, leave an opening for the filling. 
Do not cut the needle and thread off yet.  You will need to stitch it shut after filling.
 For a ten inch circle, I got a 5" pumpkin.
 I poured roughly 1/2 to 3/4 cup of rice into the pumpkin.
Then I topped the rice with fiberfill and pulled the opening close and stitched it shut. 
 Grab the glue gun and zap a blob of glue onto the bottom of the stem and position
 it over the opening and press down for about two minutes, giving it time to dry and attach. 
Tiny or large, the tutorial is the same. 
 Bear in mind that the stem should
be in proportion to the body of the pumpkin.  
I am even making some tiny acorns in the same purple velvet!  
And remember my toile chair?
I made some out of the chair fabric and one out of green gingham for our living room.
It is going to be the holidays before we know it!  My mailbox is filling up with
holiday mags, and there is one special edition magazine in the supermarkets right 
now that I just picked up by Better Homes and Gardens.  I will freely admit I 
bought it because my pal Matthew Mead has a huge how to create WREATHS feature
inside.....but when I got it home and read it from cover to cover I thought to myself,
this is one of the BEST holiday mags I have read in awhile!!! So jsut passing that 
tidbit along incase you want some great holiday decorating inspiration.
There are crafts and how-tos, but also lots of GORGEOUS homes all decked out!
In the meantime I will be happily working on my table decor as well as the entire room to pull together a festive Thanksgiving table....and then it will be onto Christmas!

 photo signature_zpsxi5q1w6r.png
Read more »